When DJs first approach the production of their own tracks, they often use a loop-based model. Sections of an existing song, in time with the original beat, are cut from a track and programmed to loop in exactly the right rhythm. This can be a great way to create a solid, recognizable and professional-sounding base for your track. By adding your own elements on top of a set of sample loops, you can put your own stamp on a classic, while still retaining that recognition from your audience. And after reading this simple how-to, you’ll know exactly how to accomplish just that.
We’re going to focus on sampling from vinyl records, since this is the most complex version of the process. Once you understand analog sampling, you’ll be able to do it from CDs and MP3 files without issue. The most important thing is to ensure that everything is set up to provide the strongest possible signal strength within your recording. Every audio cable and input is capable of carrying a finite amount of signal. If you max that out, anything that tips over the limit will be distorted. On the other hand, if you use too little of the signal bandwidth, this leaves room for all the hiss, crackle and hum that you want to avoid.

Turntables are now made with USB outputs, specifically for capturing vinyl to PC
It also damages the integrity of the sound that you are able to capture. Imagine you take a photograph with a good quality digital camera. You print the photo out onto photo paper using a professional printer. It looks great. Your friend then makes a black and white copy on a nasty old copier, and scans it into his PC. No matter how much Photoshopping and editing your friend does, he’ll never get the photo looking as good as your original. All the data containing the fine detail has been discarded, and it can’t be retrieved. It’s the same principle with sound. You can clean up minor imperfections, but if your initial signal is too weak, no amount of boosting and EQing will make it sound as good as the original, all the fine detail and weight will be gone forever.

Clean your needles thoroughly before starting, a little dust on the stylus could ruin your whole recording. Connect your turntable directly to your computer’s audio interface, running it through a mixer just adds more objects to the signal chain. If your deck has a ground pin on its audio out, make sure you connect it to an earthed object at the interface end, in order to kill any ground-loop hum. Use the best quality cables that you have, in order to prevent any interference.
Launch your recording software and enable the input to which the turntable is connected. You can use any decent digital audio package for this. It could be a high-end multitracker such as Cubase or Logic, or a simple one-channel audio package like SoundForge. Don’t use the “Sound Recorder” bundled with early versions of Windows though, it was designed to capture sound from desktop microphones. There are plenty of high-fidelity free packages available.
Enable a VU meter and play the section of your track you wish to sample. Watch the VU meter carefully. You want the signal to totally fill the green section without ever tipping over into the red. Carefully adjust the input gain until you’ve maximized the potential volume. You may need to perform many runs at this, since it is a trial and error process. The more dynamic changes there are in your sample, the more the meter will jump around.

One of the most famous samples in popular music, the “Amen Break”
When you’re satisfied you have the highest possible level without clipping the sound, hit record on the software, then set the record spinning. Be sure to start recording two to three seconds of before the start of the loop you wish to capture, and leave it running for a few seconds afterward, in order to avoid any clicks or pops when you stop and start the recording.
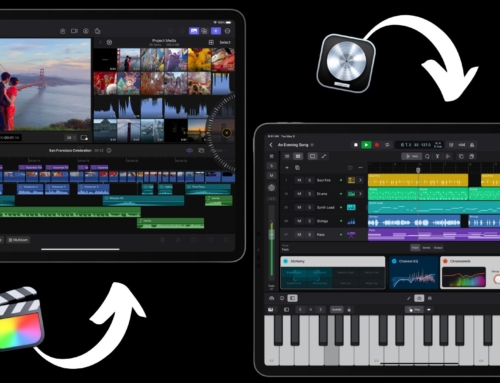
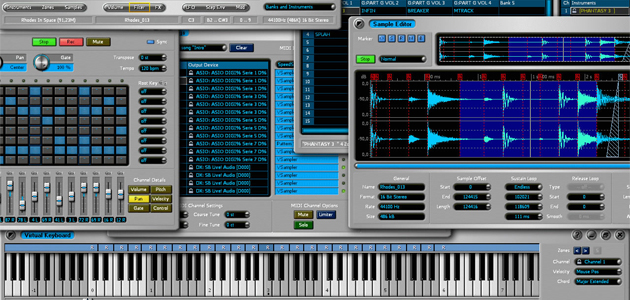
Save and export your audio file and load it into a sampler application. Most DAW applications have a sampler plug-in included, though stand alone applications such as Native Instrument’s Kontakt, or Steinberg‘s Halion are also available, and usually more accurate and powerful. With the sample loaded into a trigger slot, you can assign it to a key on your controller, and accurately set the start and finish times for the sample, making sure that it loops accurately on the beat.

Part of the Kontakt Editor interface
Then, you just play the sampler like any other MIDI instrument; striking a key or playing a MIDI note will trigger the sample. Simply place a note at the start of each bar to create a looping phrase, or you can create stuttering repeating phrases by altering the sampler’s “retrig” mode. Software samplers are great but there’s nothing stopping you form exporting your recorded files onto a hardware unit.