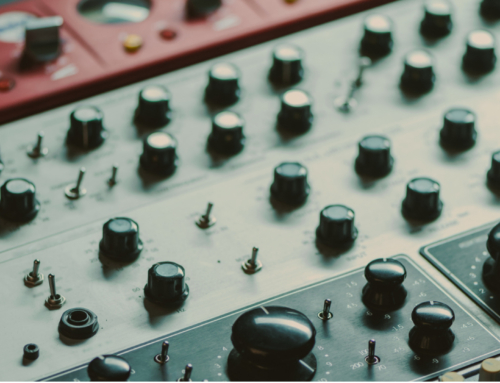
Having looked at the use of beatmatching and effects within Ableton, it’s time to check out another of its slightly esoteric editing features. The Clip Envelope editor. This quirky editor allows us to edit some deeper parameters of a sample, the way you might use an audio source editor in a more traditional DAW. The controls for editing resemble those you might use for creating automation tracks, horizontal lines with movable nodes for shifting between various parameters as the track is played. Any edits you might make though, are all applied to the file in real-time, so the original sample is left untouched, in keeping with Live’s convention of totally non-destructive editing.
Just as a precursor, I’d advise that you use clip envelopes as a pre-prepared tool. They involve some quite intricate editing and some trial-and-error playback if you really want to get the best results, so it’s not really advisable to try and do this live. It’s really something to prepare in advance and take with you to the set. That said, any envelopes you create will be saved in Ableton’s ASD file along with your source material, so your edited envelopes will be on hand and ready to go if you decide to throw a previously-used track into a new set unexpectedly.
 Accessing the Clip Envelope Editor
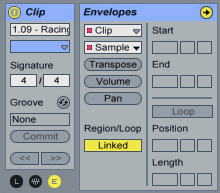
Import a sample into Live, by dragging and dropping it onto the main project window, just as you normally would. Highlight it so it appears in the usual clip editor space in the lower portion of the screen. At the far left of the clip editor, you’ll see a kind of “header” window that contains all the major information for the clip; the file name, the time signature, and so on. Just below this header box, are three toggle switches labelled with an “L” a squiggly diagram of a waveform, and an “E.” Click the “E” to engage the clip editor mode.
Clip Envelope Basics
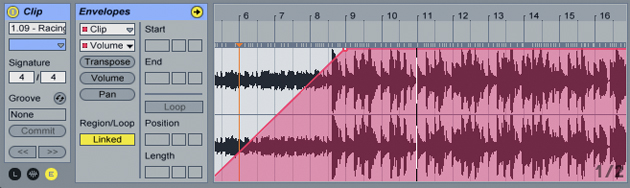
As soon as you click the “E” button, you’ll see a new menu box appear at the left of the waveform, there are a couple of drop down boxes that contain a variety of audio parameters that refer to the clip and mixer channel. Volume, transposition and Sample offset. You’ll also see a pinkish overlay appear on top of the clip waveform. If you double-click on the line at the top of this pink area, it will create a moveable node called a break As the play head moves from left to right across the sample, it reads the information from the breakpoints and applies it to the parameters selected in the drop down boxes. If you’ve used automation in a DAW before, you’ll be familiar with the concept.
Wave-Twisting Tools
The mixer controls and volume parameter are pretty self-explanatory, the Sample offset is a little trickier to understand, but offers some interesting toys for DJs and remixers. With some careful editing, it’s possible to create syncopated jitters and fills by shuffling portions of the clip. It’s an unusual concept to get your head around, but with a little experimentation you’ll learn how to quickly “paint” in drum fills.
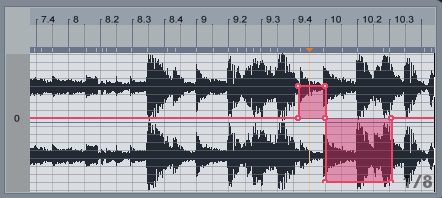
The pink control line defaults to the central zero point of the wave form in running across the centre of the display. Moving the pink line above the zero line cause the sample to skip ahead of itself. Moving it below will cause it to jump backward, replaying the previous piece of audio. The size of the “jump” is determined by the distance of the pink line from the zero line. A small bump in the line will cause a tiny blip, pulling the control line all the way to the top or bottom will replace a section of audio with a neighboring one.
The example below causes the sample to jump ahead by 4/16ths, then backward 8/16ths, for the length of each hit in the beat. As the play head passes over the edited portions of the line, it replaces those sections with audio from another point in the file. It creates a dramatic beatjuggling-style effect.