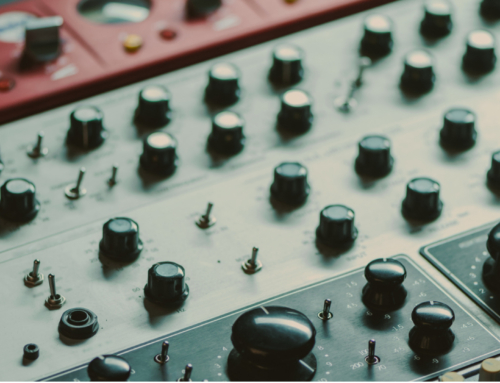
Like most DAWs, Ableton Live contains a selection of effects processors to twist and manipulate your sounds. However, as you’ve probably come to expect by now, Live does things a little differently. In addition to the usual array of compressors, distortion boxes, and phasers, there are a few DJ-friendly units that sync with the master tempo of the project, allowing you to create stuttering loops and skittish fills.
As ever, the best way to get to grips with these tools is to set up a practice project and get twisting those dials. The most important thing to understand is how Live’s signal chain works, and how you can drop in effects and processors at different points within it.
 Adding Effects Units
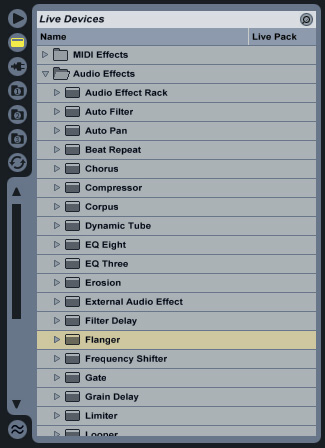
You can apply effects directly to a single channel, and the processing will be applied directly to any clips within it. Click on the Device Browser button, second from the top, at the left of the browser window. Open the “Audio Effects” folder, and the selection of available effects will appear below.
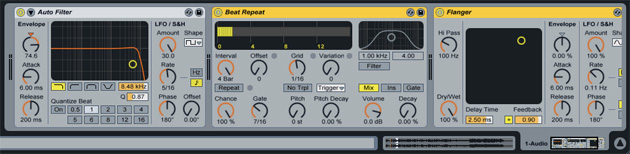
To add an effect unit, drag it to the desired channel, and the effects view will automatically open in the lower window space normally reserved for the sample editor. You can switch between the effect and sample views by using the tabs in the lower right corner of the screen. The signal chain moves from left to right within the effects view, and you re-order the units by dragging them by their respective title bars.
Patches and Hot-Swapping
You can help yourself gain an understanding of what all the controls in an effect unit do by checking out some of the demo patches. Click the arrow in the file browser to drop down the list of default patches included with each effect unit. You can quickly switch between them, by using the “Hot-Swap” button in the title bar of each effect unit. Click the button to enter Hot-Swap mode, then use the up and down arrows on your keyboard to select patches, and the enter key to enable each one. If you create a patch of your own, click the disk icon in the unit’s title bar, and a patch will be created in a sub folder, named after your Live project.

Sends, Returns and Mastering Effects
As well as applying effects units to individual channels, there are a couple of other ways to effect your tracks. To effect both of your virtual decks, you can add effects to the master output, just the same as you would any of the individual channels, grab an effect unit from the device browser and drop it onto the Master channel. The Send and Return system places effects units on their own auxiliary channels, and adds a pair of blend controls to each channel track. Turning up a send control directs a portion of the track’s output to the corresponding effects channel and blends it with the clean signal.
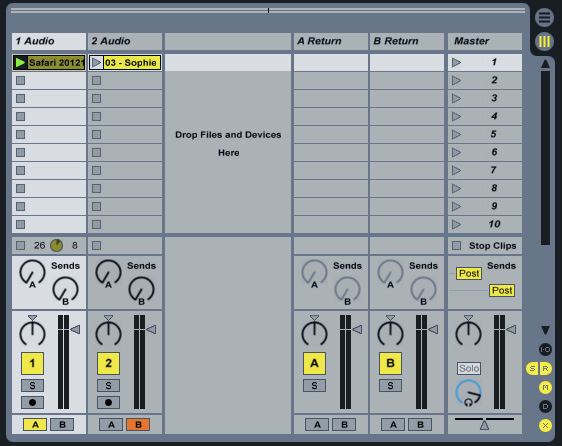
To enable to the send and return function, click the “S” button in the lower right corner. Two knobs, labeled “A” and “B” will appear in each channel strip, just above the volume fader. Click the “R” button next to the “S,” and two channels will appear next to the master channel at the right of the track view. Drop your effects onto either the “A” or “B” channel to assign them to the corresponding knobs on the channel strips.